gift bags

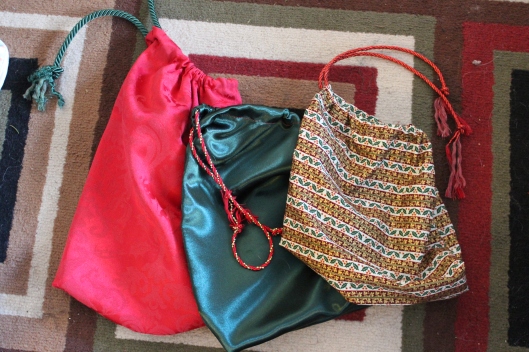
Inspired by Madame M’s beautiful gift bag this Christmas, I have decided to cut down on my own Xmas waste by making some “forever” bags of my own.

The thought did cross my mind that Pixibug may some day wonder why Santa has all the same bags as we do, but that is a bridge to be crossed at a much later date.

It’s pretty simple, really.  I went to Fabricland and bought a bunch of fabric on sale.  Cut it up into different shapes and sizes.

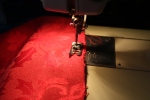
I started by making a casing for the rope:


Then I sewed up the side(s) depending on how I folded the fabric.

Here’s the only mildly difficult part.  I wanted to make the bottom of the bag flat so I could fit more in it properly… here’s what I did:

cut off the excess

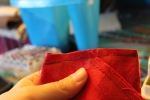
don't sew all the way to the corners... leave a bit of space on either side, then fold like so

sew accross like this


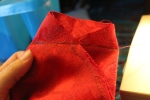
This is what it looks like on the bottom when you’re done:

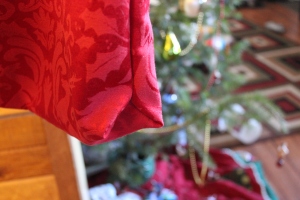
lots of room for filling it up!

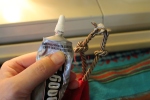
Finally, I feed through the rope for the top.  There are all kinds of ways to finish these ropes.  I considered using big wooden beads… but decided on just knots.  I glued the knot with craft glue (E-6000) just to keep it from slipping.  Then I frayed the rope to make it look a bit like tassels.
Finally, I had some nice bags that I can now use instead of all that paper and tape!  — who am I kidding?  I love paper and tape, we’ll still use a bit of that too, but there will be a considerable cut-back on Xmas wrap in our recycle bin next year. 🙂
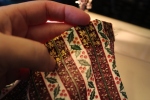
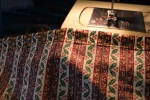
pretty though, aren't they?

Making some watercolours

Ok, so Mommy has become Senora now that I have gone back to work as a teacher.  I have an idea for a Christmas Craft and want to use watercolours.  NOW, I know that most schools have paint “pucks” somewhere… and a whole load of tempera paints.  Well, I found the tempera… but no sign of any colourful little pucks.

As you may know by now, I’m brilliant.  So I figured someone MUST have figured out how to make watercolours by now and it’s probably online.

I found it.  And here it is!

I found everything right in my pantry… except I didn’t have the light corn syrup, I had the golden stuff… which made my paints a little tan-ish before the food colouring was added.

I  happened to have neon and regular food colourings… they seemed to mix up very dark at first but then got lighter as time went on.  I had to mix it all a few times because the powdery corn starch settled to the bottom.

You can use them wet or dry, but it takes awhile for them to dry. Like overnight not a week.

Now, I just need to try painting with them and see how they work!

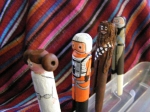
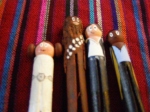
I’m back… and with a Star Wars theme!

Well, I recently returned from a trip to Mexico with my Bug.  While I was there I bought a blank ceramic skull and painted it.  That’s all I needed to get the crafting bug again. 🙂

I have completely stolen today’s Idea from here.  There are some ultra cool ideas here, but this one grabbed me.  So I stole it.

There are a few little details that I have changed – mainly that I used paper towel in a kind of makeshift paper machee style to create my different textures (Chewey’s hair, Vader’s cape and mask…etc.).

Still to come:  C3PO, stormtrooper, Boba-fet

Critters

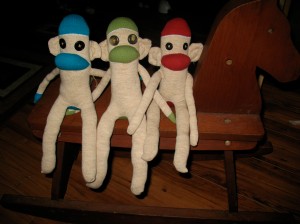
I may have mentioned before that I am working on a bunch of different critters including bunnies, owls and monkeys.

Well here’s a little gallery of some of my sock and felt menagerie.

For our baby photo shoot

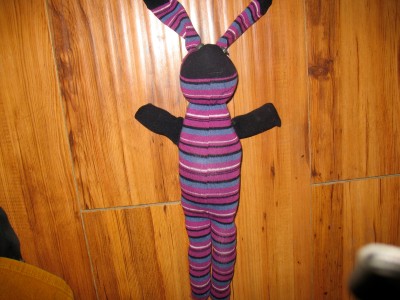
bunny

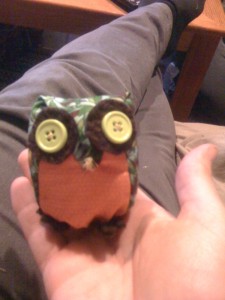
WHOOO?

I’m not very happy with the bunny… I have to make some changes to the pattern…  I have a request for one on consignment already. 🙂

headbands

So while I was at Wal-mart today I was overcome with a strange urge to make baby headbands.  To be honest, I always thought they were a little silly.  Babies have no hair, but people insist on wrapping an elastic around their poor little bald heads anyway.  They are useless and cute – and to me BP (before Pixiebug) useless and cute was not something that ever interested me.

The real reason I thought it would be a good idea for Pix, is because she IS so very bald.  A little androgynous actually, except for the adorable big blue eyes and mile-long eyelashes… oh who am I kidding? Baby boys have those eyes too.  With one of these cute little headbands, she is obviously a SHE.  So a little less useless. (if gender/sex is important – which to my surprise it is: I for some reason get a little miffed when she’s wearing a dress and someone asks if she’s a boy or a girl. I suppose at this age most of her identity is in the boy/girl distinction… sad, but true)

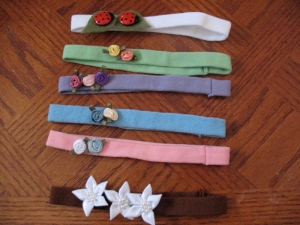
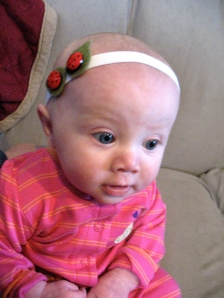
Anyway, here is the result of my 10$ Wal-mart shopping spree and the 1/2 hour I spent watching season 3 of Roswell this afternoon.  On the model:

The fruits of my labours

Owl

I’ve been really slacking on my blog.  But that doesn’t mean mommy isn’t making stuff.

Babydaddy had surgery a week ago – So, I’ve been doing quite a bit more around here than usual.  But I’ve still found time to make a whole bunch of sock animals… mostly monkeys.  I’ll be having photos taken with Princess Girly and Baby Goop soon and we’ll have matching monkeys for some of the shots probably.  Also, I tried a bunny… it was ok, but a prototype.  The next will be for Baby Goop and it will be pink.  I hope it turns out better than the first one.  I am currently making a sock dog – I run out of steam on some of these little projects and so I hope to get them all finished eventually. Pictures to follow.

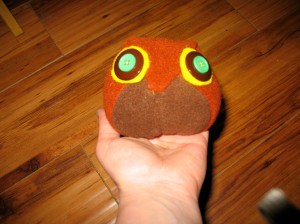
TONIGHT however, I made a 10 minute Owl.  Why is it called that?  WELL… because that’s how long it took me.  Really, I wonder about you people sometimes.  Anyway  I love him.  He was so easy.  Here he is in all his miniature glory.  I got the instructions here and then they were clarified a bit more here.

So with all these critters coming about my BD finally put the big question to me:  “What are you going to do with all this stuff once you’ve made it?”  (Hm., “where is this question going? and where did it come from suddenly?”, I wondered as I waded through my sock menagerie)

Well… that’s a very good question.  It was then I decided I needed a contest of some sort so that I could give away my little beauties as prizes!  (Read: unload my junk on other people in the guise of rewards)   I’m still working out the logistics.  You must understand that these beautiful crafts are often one of a kind… but also not professional quality.  My photos are usually of their “good sides” if you know what I mean.  But still, I feel like sharing the joy – and keeping BD happy by not having a house full of home made goodies.

I don’t know… what do you think?

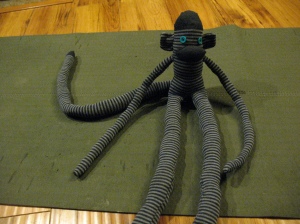
A quick monkey

So today, I started and finished a little project completely unrelated to anything else I’ve done.  It was SOOOOOOOO fun.

First, I have to give credit where it is due.  My mommy friend makes them and sells them here.  She makes them all cute and stuff.  Not sure if I’ll ever get the nerve to try that.  She’s very good.

The full instructions are here.  It was really easy.  I’m going to have to make two more so that when Pix and I go for our photo shoot with Baby Goop and Princess Girly in a couple of weeks we can use them as props.

Monkey doing yoga

Anyway, I went to Zellers and spent about 10$ on some clearance socks (4 pairs), a bag of buttons and some chocolate easter eggs (the malt kind).  This is enough to make 4 monkeys and have 200 buttons left over.  The easter eggs are not entirely necessary to the completion of the project… OH, but it makes me think that maybe I could make a sock bunny!  what an idea!  Anyway, maybe next week.

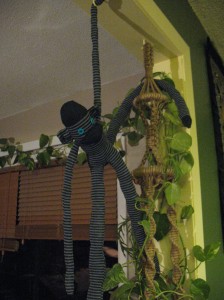
Monkey in Jungle

So here is the result of my first monkey. (I think my trip to the zoo this afternoon inspired me)

a little felt break

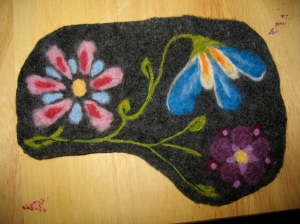
wool flowers

I went to the Women in Need store and bought a wool jacket.  The lady behind me in line (with pretty blue hair) exclaimed what a beautiful find I had made.  If she only knew what I was about to do to the beautiful wool jacket.

First, I threw it in the washing machine… when it came out Pixiebug could have worn it.  Anyway, I cut it up into pieces I could work with.  And on one of those pieces I made some little flowers out of coloured wool.

Needle felting is fun.

The end.

🙂

Pysanky World Tour:Southern Hemisphere

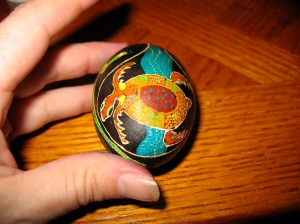
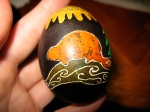
Ozzy turtle

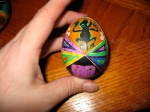
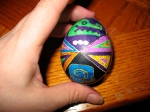
On my quest to do eggs with world themes, I’ve added Australian and Mayan designs to my repertoire.

I did a little research on designs from both places and delved deep into my memory of each place.  I got colour schemes and design elements from both.

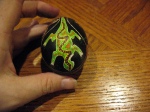
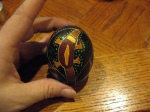
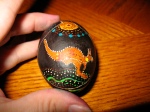
My Australian egg is devided into what is called a saddle which is best described by saying it’s just like how the stitches on a baseball go.  It allowed me to have 4 teardrop shaped bubbles to put pictures in.  I used a turtle, kangaroo, lizard, and platypus with aboriginal style elements (mostly little dots all over the place).

The Mayan one is colourful.  I thought of all the textiles that are for sale in the markets – and of the cool reptile designs I’d seen when I was living in Colombia.  Also, I looked up some Mayan symbols and have included the ones for bird and “rain god”. Not because of what they symbolized, but because they were pretty and quite similar to one another… it gave me some design symmetry.

Here are a bunch of photos – since there’s so much detail on each egg:

Mayan side 1

Mayan side 2


Ozzy lizard

Ozzy platypus

Ozzy Kangaroo


PS: My next trick will be an attempt at paper tole. I’ll let you  know how it goes!

Pysanky Part 4: World Themes

So I was at the Zoo yesterday with Pixiebug and my friend Veronica and her BabyGoop.  We were having coffee and I noticed the beautiful African themed Batik hanging there.

“Boy, that looks a lot like Pysanky” I thought to myself.

Then, it occured to me – Pysanky is egg Batik!

I loved the African theme, and started thinking of all the batik I’d seen in my travels.

“I bet I could do eggs with different themes from around the world” I said to Veronica.

“Wouldn’t that be really hard?” said she.

“I don’t know ’till I try it!” and so I began with what I know best: HOME.

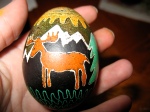
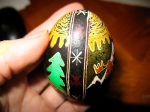
Over the next few days I’ll add to my Pysanky Gallery when I add a new design.  For today, I’ll share with you my Can-eh-dia design.

Can-eh-dia side 1

Can-eh-dia side 2

Can-eh-dia trim detail